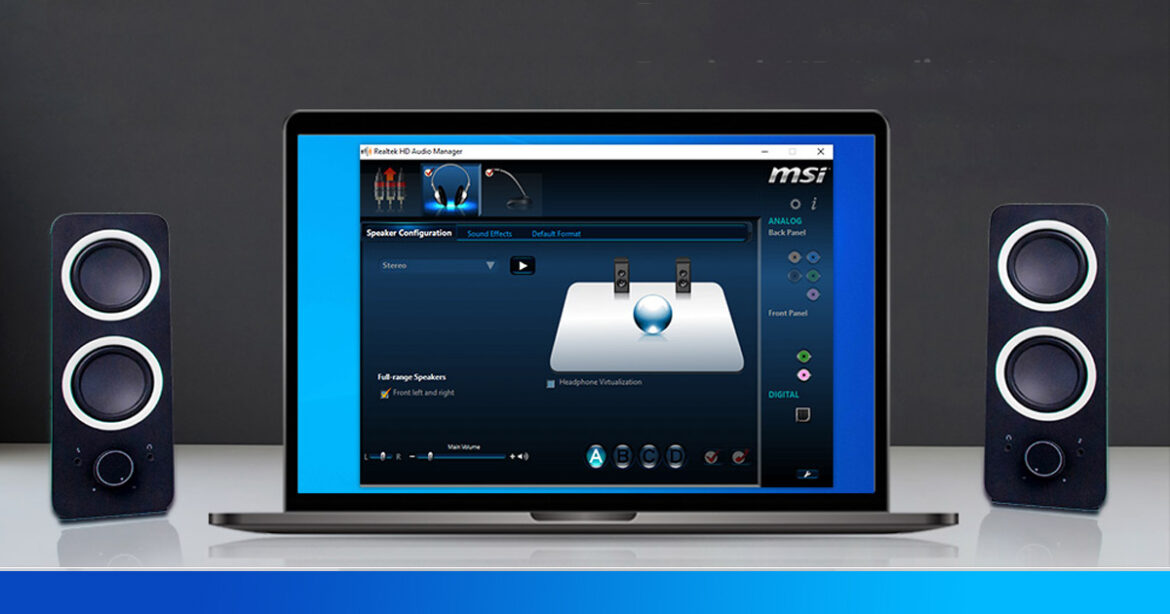
Realtek HD Audio Manager is a software application that is pre-installed on many computers. It manages the audio settings of the system. This application suits gamers who want to optimize their audio settings for the best gaming experience. This post will discuss some tips and tricks for using Realtek HD Audio Manager for gaming.
1. Use the correct audio device
Before launching a game, ensure the correct audio device is selected in Realtek HD Audio Manager. Begin by right-clicking on the speaker icon in the system tray, selecting “Playback devices,” and selecting the correct device from the list. It is crucial because choosing the appropriate device is necessary to prevent poor sound quality or sound issues.
2. Configure the equalizer settings
Realtek HD Audio Manager has a built-in equalizer that can adjust the sound to your preferences.
Open Realtek HD Audio Manager, click on the “Sound Effects” tab, and click “Equalizer” to access the equalizer. From here, adjust the settings to your liking. Increase the bass and treble frequencies to make the sounds more immersive for gaming.
3. Enable 7.1 surround sound
If you use a 7.1 surround sound system, activate it in Realtek HD Audio Manager for a more immersive gaming experience. Start by opening the Realtek HD Audio Manager, clicking on the “Sound Effects” tab, and then clicking “Room Correction.” You can select “7.1 Surround” from here and configure the settings according to your system.
4. Disable audio enhancements
Realtek HD Audio Manager has different audio enhancements, such as Loudness Equalization, Virtual Surround, and Bass Boost. While these enhancements can make the audio sound better in some cases, they can still cause problems with game sound quality. One should disable these enhancements before launching a game to avoid any issues.
5. Use the “Default Format” setting
Realtek HD Audio Manager has a “Default Format” setting which determines the audio format used by the system. Use a higher audio format such as 24-bit, 192 kHz for gaming.
Open and click on the “Advanced” tab and select the desired format from the dropdown menu to change this setting.
6. Configure microphone settings
It’s important to configure the settings in Realtek HD Audio Manager to ensure optimal sound quality if you use a microphone while gaming. Open and click on the “Microphone” tab and configure the settings according to your microphone. For example, you can alter the microphone volume, boost, and noise suppression.
7. Update your audio drivers
It is important to keep your audio drivers up to date to ensure that Realtek HD Audio Manager works properly. You can do this by visiting your computer manufacturer’s website and downloading the latest audio drivers for your system.
In Conclusion
Realtek HD Audio Manager is vital for gamers who want to optimize their audio settings for the best gaming experience. By following the tips and tricks mentioned above, you can ensure that your audio settings are configured correctly and that you are getting the most out of your gaming experience.


